I have a Sony Vaio laptop (model VGN-C1Z), which all of a sudden developed a serious illness. The screen was covered in lines during bootup, both the BIOS and Windows loading screens, then it would just blackout when Windows finally loaded. The lines over the BIOS screen told me it was a graphics card problem and being a laptop I feared the worst. It turns out that I’m not the only one with this problem. The culprit here is the nVidia 7400 GPU. It seems that as the chip gets hot and cools down repeatedly, the solder bonds under the chip are weakened and eventually become faulty.
Now, it stands to reason that if the only error is poor solder connections, that I should be able to heat the chip up again and reflow the solder to create nice strong bonds again. Well to test my theory I booted the laptop, pressed F8 to get the windows boot menu and started in VGA mode. This let the laptop start Windows, albeit with everything looking huge due to the 800×600 resolution. Then I played helpful 720p videos until the laptop got very hot. A reboot later and the lines on the screen had disappeared! The laptop had magically resoldered itself. Sadly this didn’t last and the problem quickly returned.
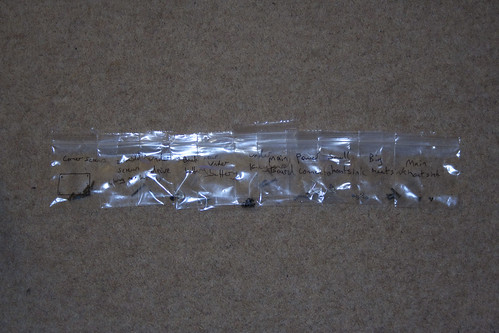
An easy way to keep track of the screws
I needed a more permanent fix, so I bought myself a heat gun and set about taking the laptop apart. Now a tip here is to get yourself a load of small plastic resealable bags. As I removed the screws I labelled a bag and put the screws in, so I might have a bag labelled ‘corner screws base’ with all the main screws from the base…obviously. Also, if you lay the bags out left to right in the order you took them out in, then you can easily follow the order in reverse to put everything back together.
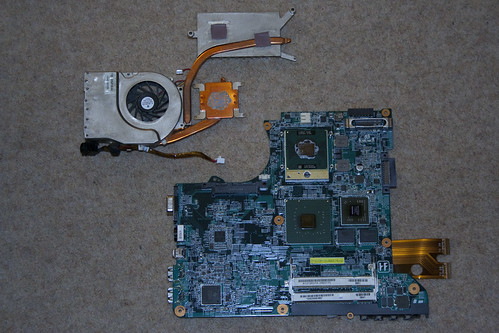
Heatsink and motherboard
After removing all the base screws, taking out the HDD/DVD drive (there are 3 screws under the drive), you have to flip it over and take off the keyboard, which is secured by small clips along the top edge and has a flat plastic ribbon on the back which has to be unplugged. There are 3 screws under the keyboard, which when removed will allow the laptop to come apart nicely. You can then unclip the wires from the motherboard, unscrew it and take it out. Then you remove the heatsink and finally the faulty nVidia GPU becomes visible.
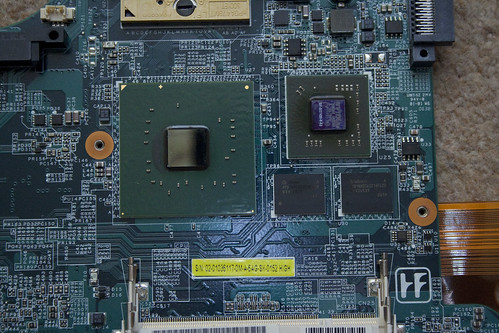
nVidia chip is the medium sized one on the right
I took a piece of tinfoil and rubbed it over the GPU to give me the outline. Then I cut out a section of foil inside the outline and covered the motherboard so that only the GPU was showing. I set my heat gun to 400C and holding approximately 15cm away to start with heated the nVidia chip. I did this for about a minute then let it cool down, before repeating the process again a couple of times, just to be sure. I then connected the bare minimum back up to the laptop to test it and SHAZAM! no lines on the screen. Job done. It was then a simple matter to take the screws out of their little labelled bags in reverse order and put the laptop back together. I’m still using the laptop with no problems since.
Update – 5th June 2011: Added some pictures I’d taken of the process to make things clearer.