Miniature Garden Tutorial

Just the piccies? Flickr set here
Introduction
First off, a quick note. I started making these as a way to use up some ‘stuff’ I had laying around. The only pieces I bought were the pots at 25p each and the grim reaper figure.
Materials
Step 1 – Preparation
Step 2 – Sculpting
Step 3 – Painting
Step 4 – Finishing Touches
Materials
- Polymer Clay (fimo, fimo soft, sclupey etc) – 1pack /56g (approx)
- Acrylic paints – black, white and eathy colours (brown, tan, gray)
- Scatter material
- Small Terracotta dish (80mm diameter) (25p from B& Q
- Focal point – Grim reaper in this example – previously used HO scale tardis and small dinosaurs
- Glue – PVA and super glue
- Sculpting tools – needles, pokey tools mostly
- Pliers
- Tin foil
- Paint brushes
Step 1 – Prep
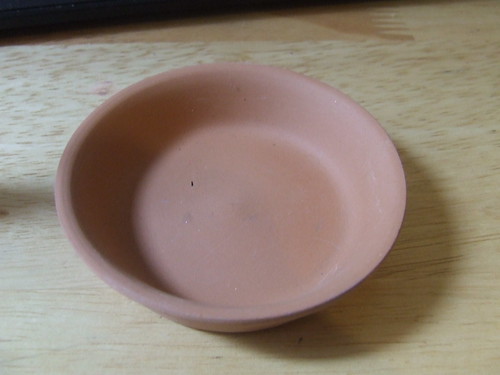
The container is going to be baked alongside the polymer clay, so ceramic is a good choice, avoid plastics. To save on clay(its fairly expensive when you think about it) the bulk of the dish will be filled with tin foil. I’ve formed the foil into a spiral, this is going to make it easier to remove later.
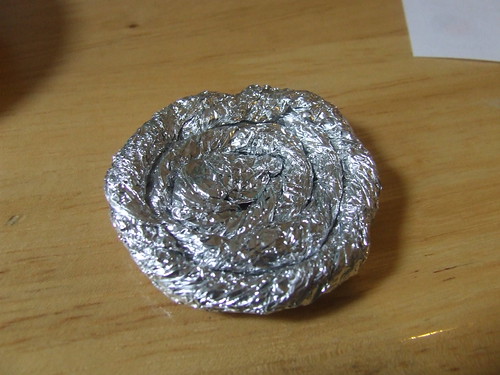
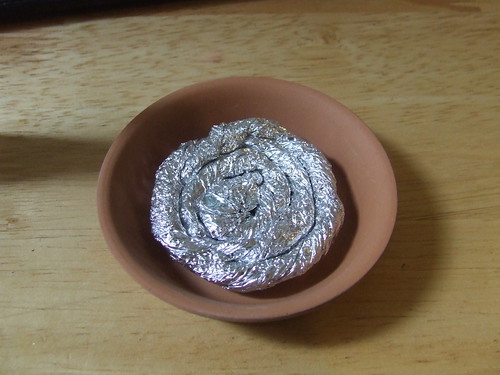
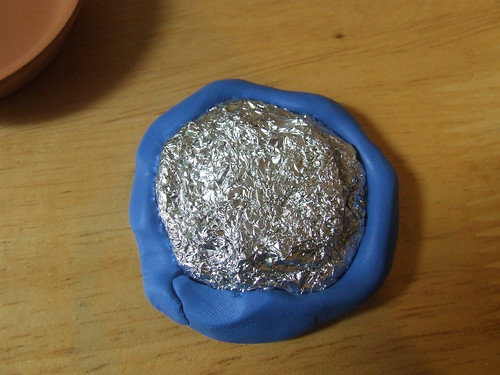
The spiral on its own is not enough to bulk out the dish, so wrap the spiral in some more foil to bulk it up, try to keep the foil spiral to the bottom.
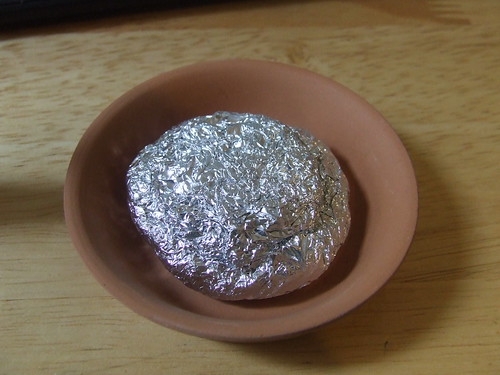
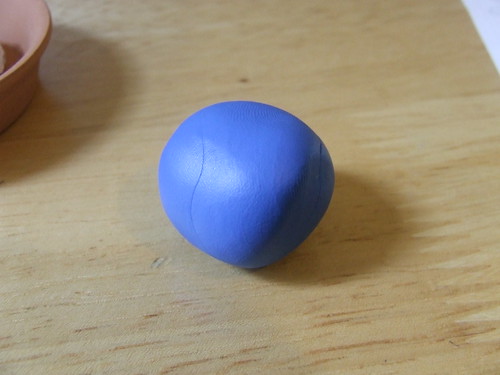
On to the actual clay now, starting with a ball of clay(above), roll it out into a snake and wrap it around the foil padding (below)
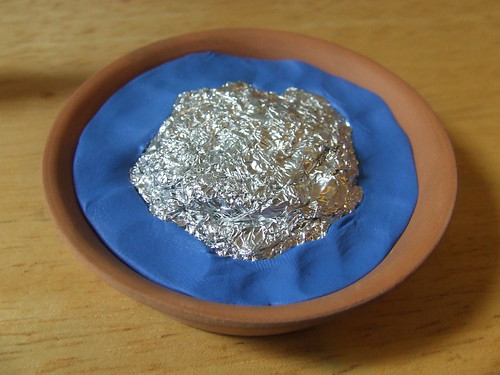
Squeeze the clay into the edge of the pot to stop the foil moving around when the top layer goes on.
Step 2 – Sculpting
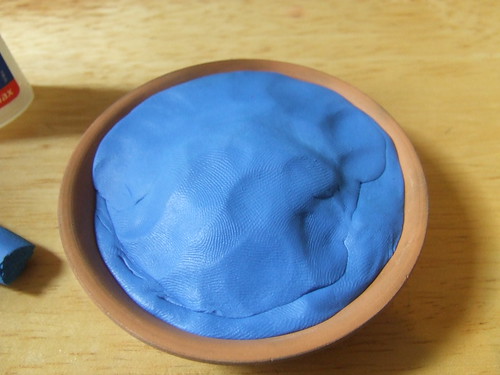
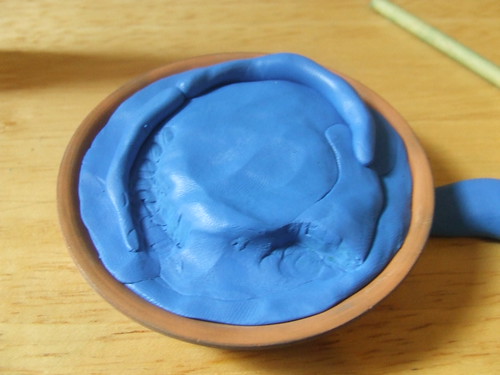
A very rough outline is formed. All I knew at this stage was that i wanted a curving path up to the plateau.
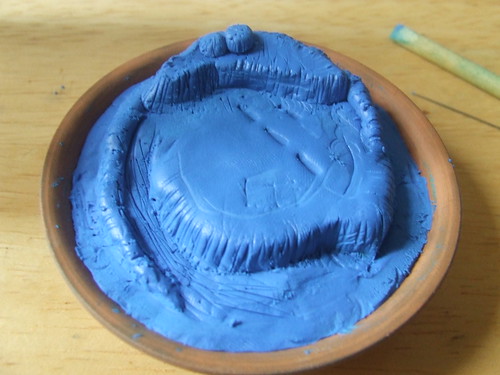
Tools used here: a needle and a small piece of dowel (top left of image). The three indentations are where I planned to have the grave stones.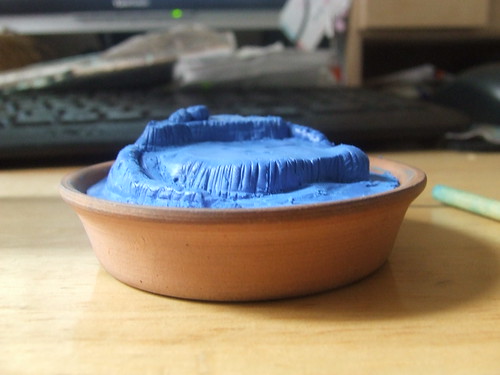
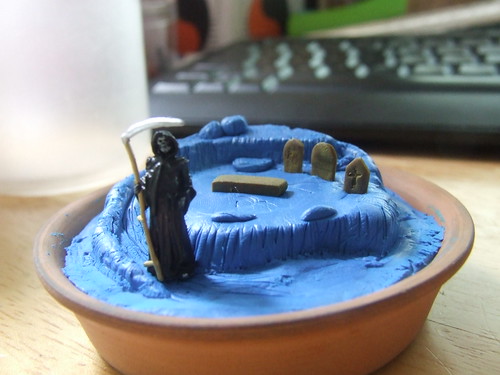
The Grim Reaper is a Preiser figure bought from a model shop (£2.99). The grave stones are polymer clay that’s been rolled very thin and the cut out.
Almost anything can be used as a tool to texture the clay. Scrunched up tin foil makes a good rock pattern, anything that can be poked into the clay makes a good crater texture. To soften the effect and to remove prints, teh clay can be brushed with rubbing alcohol prior to baking.
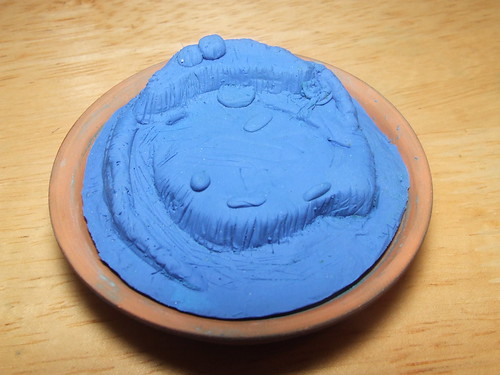
This is how it looks after baking. It’s best to follow the guide that came with the clay for baking. I tend to leave it in for about half an hour, maybe more.
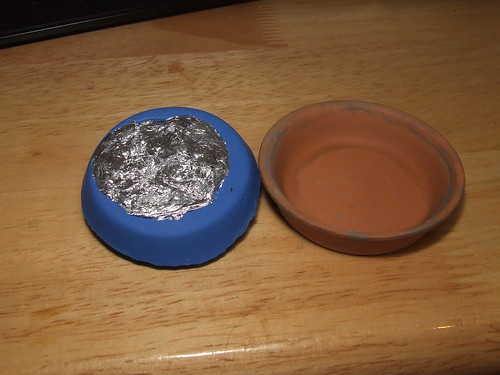
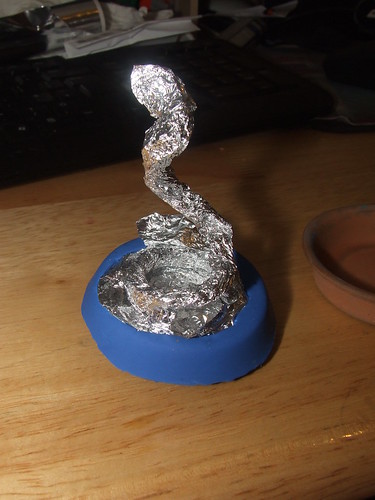
See how that tin foil spiral works now? for the rest of the foil, use the pliers.
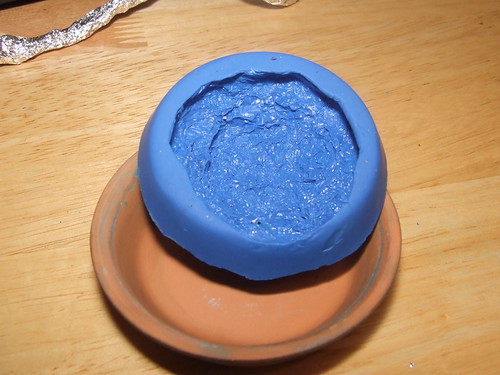
Now you have a super secret hiding place for tiny things. On a more serious note, the blue stain on the pot can be removed with soapy water and a stiff brush.
Step 3 – Paint
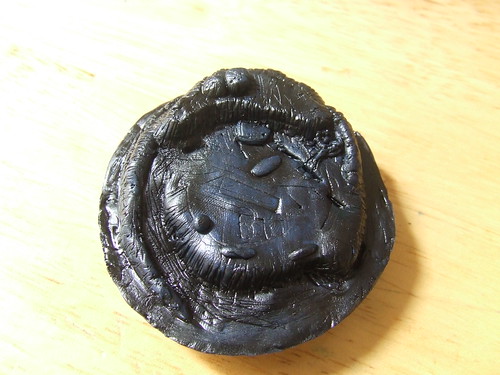
By far the most time consuming bit, waiting for the base coat to dry. The base coat is black paint mixed with water, so it runs into all the crevices. You can still see the clay showing through, but that’s OK as it’ll be covered later.
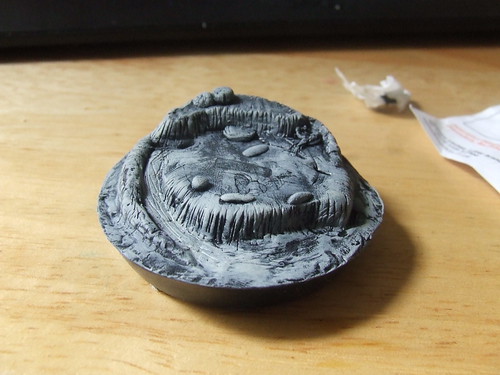
A layer of dark grey has been (badly) dry brushed on. The idea of dry brushing is to highlight the raised edges and leave the recessed bits darker. Unsurprisingly it requires your brush to be very dry. One of the best resources for landscape and terrain modelling is TerraGenesis [painting article]
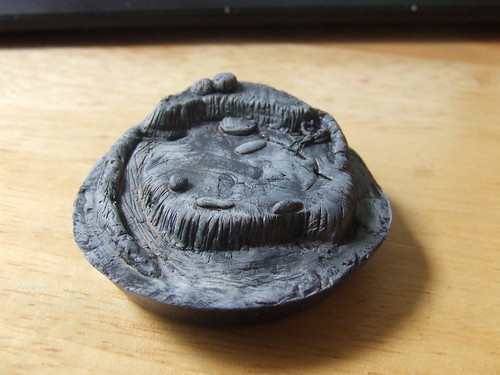
A mix of brown paint and water has been applied to knock the grey back a little and to give a more weathered muddy look. The muddy look will be built up more.
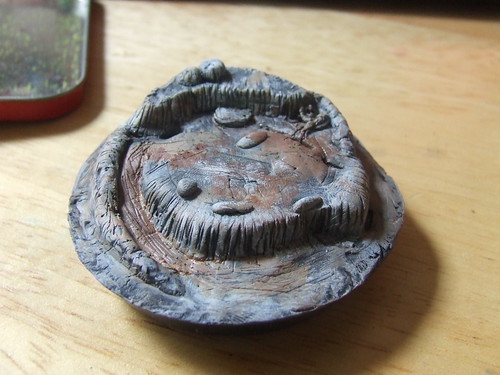
I wanted the path to the grave yard to look worn and well trodden. The edges of the cliff and path edge have been dry brushed in brown.
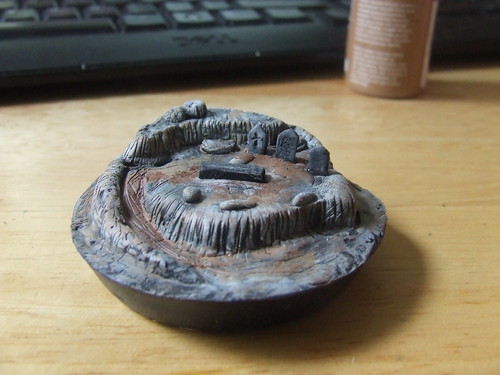
The grave stones were painted in a similar manner, black followed by grey. the stones have been super glued in place.
Step 4 – Finishing Touches
This is where the magic happens. No matter how crappy the painting is, adding model grass and bushes makes it all come together.
Before getting your scatter on, get some cardboard or newspaper down. This stuff gets everywhere!
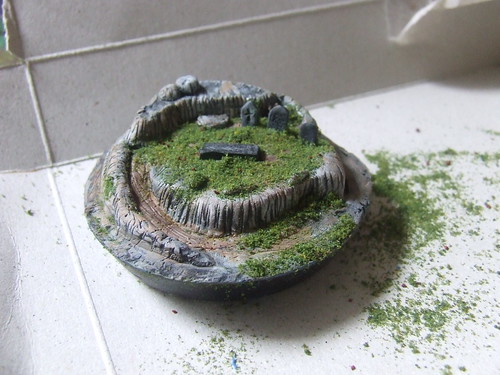
For large areas, PVA glue mixed with water is a good options, for finer control and small areas, use super glue .
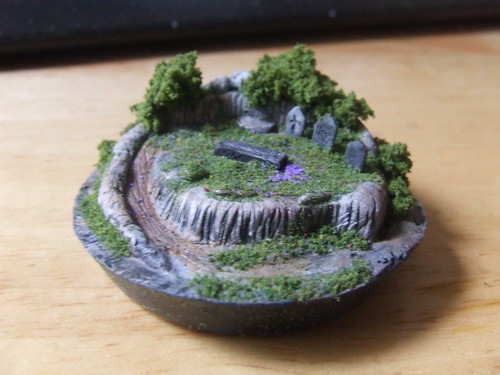
There are no rules with this bit, take the Bob Ross approach, want a happy little bush there? then put one there, its that simple.

That’s it, without the drying time, the process takes a few hours.
Other Examples