CNC Mould Making – Seahorse Earrings
I was looking for a project that involved mould making, and asked my girlfriend if she wanted me to make her anything…she decided on some Seahorse earrings, so I set to work.
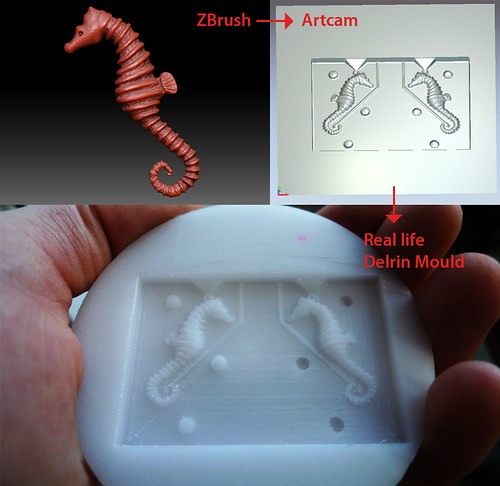
As you can see in the image above, I started by creating a 3D model in a fantastic program called ZBrush which allows you to sculpt digitally. When I was happy with the model I imported it into Artcam, a program for creating CNC toolpaths. I layed the model out mirrored so I could make a two-part mould. I included registration holes/bumps so that the two halves would line up correctly later on. Finally the mould was milled on my CNC machine into a slice of Delrin plastic, which cuts nice and cleanly.
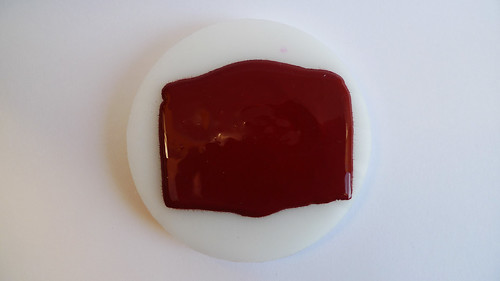
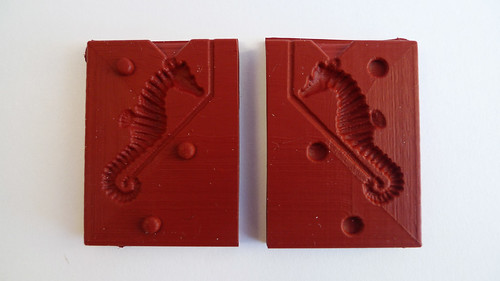
Above you can see the silicone that will become the final mould setting in the Delrin master. I used RTV-101 from a company called Tiranti. I chose it because it’s temperature resistant to over 250C and so would be perfect for pewter casting. It’s fully cured in 5 hours or so, I just left it over night.
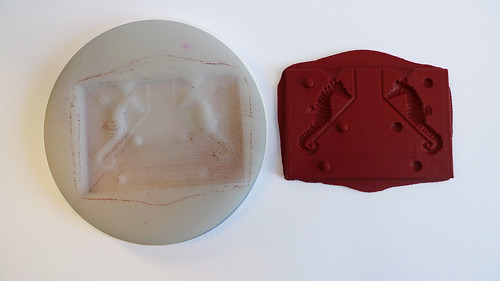
Here you can see the nice silicone cast. It’s taken up the detail really well and I managed to get rid of all the air bubbles with some strategic tapping when I poured the silicone.
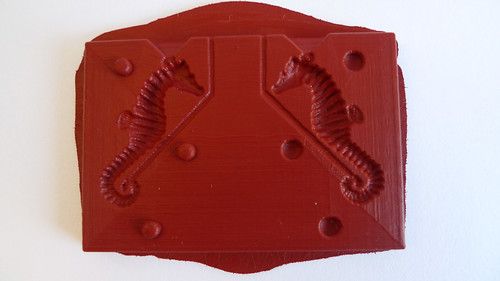
Here’s a close up shot of the silicone mould.
The mould was then trimmed and cut in two. Luckily the registration holes lined up as planned.
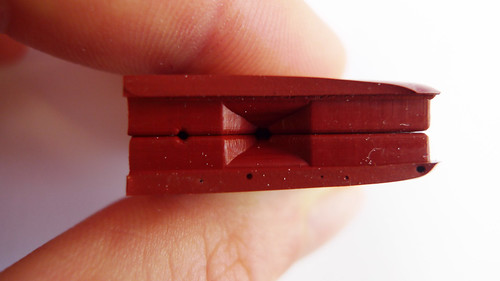
The two halves fit together nicely. You can see the air channel to the left of the pouring hole.
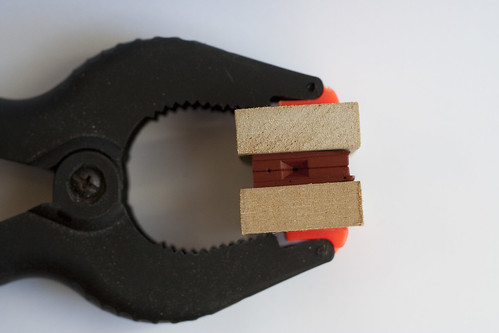
For pouring I clamped the mould halves between some bit of MDF.
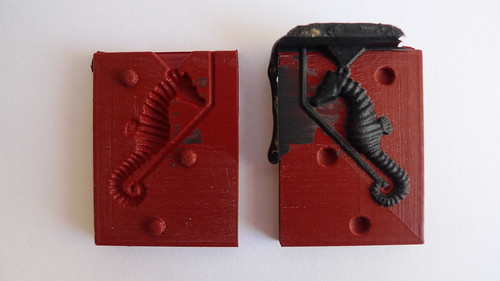
This is my first cast from the mould. I used some black polyurethane casting resin that I had as it was a bit easier than messing about with pewter. It came out very well, the only dodgy bit was the very end of the tail, but that was my fault for putting the air channel in right above it.
Ah a fine little fellow! It’s a good feeling to get a proper physical version of something that you created on a computer.
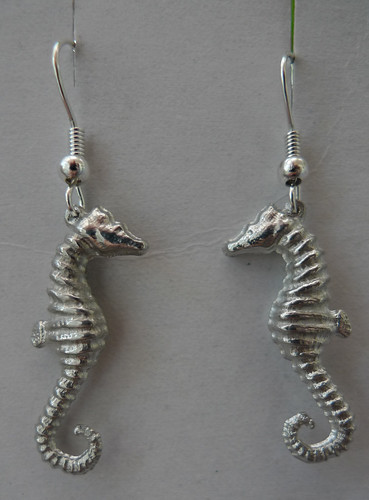
Finally we have the finished product. Casting in pewter wasn’t quite as easy as the plastic. It doesn’t like to flow into all the crevices of the mould on its own, so I made a simple metal funnel with some pipe and the end of a small CO2 canister (the kind you find in BB guns). I heated the funnel up in the blowtorch I was using to melt the pewter, this stopped the metal solidifying instantly instead of flowing into the mould. With a pair of pliers I held my funnel into the opening of the silicone mould and then quickly poured the pewter. Because it has nowhere else to go, the weight of the metal above forces the pewter into all the corners nicely. Before using the funnel I was getting very poor detail and incomplete filling.
After giving them a bit of a polish and hooking some earring bits through the holes, they were done! I’m pretty happy with the way they came out, pretty close to my original computer model at least.

August 31st, 2010 at 4:42 pm
I am truly astonished, that is amazing!!! WOOOOOOOHOOOOOOO!
September 5th, 2010 at 11:21 pm
Can I have some?! They are brilliant!
June 10th, 2011 at 3:21 pm
How do you manage to prevent the pewter from melting the mould?
June 10th, 2011 at 3:26 pm
The mould’s made from a type of silicone that heat resistant to over 250C. The melting point of the pewter I’m using is slightly under that so it stands up to the casting well.